Saturday, September 27, 2014

Michael Beanie - Free Crochet Pattern


Hello all. Another beanie pattern today. I've been on a bit of a roll with hats recently so I hope you don't get sick of them all. I know a lot of you have been holding out for some newborn sized patterns, so Im going to try, where possible, to do these hats in prem sizes and then in newborn. Some might not work but I'll deff see how I go at getting some more sizes for you. Id like to go back through all the other patterns and do the same thing, time permitting.

This is a multi size pattern.

Making this hat in prem sizes
DK/Light Worsted/8ply yarn in a main and contrasting colour
+ 4mm hook = a hat for 22 weeks gestation (10cm tall x 9.5cm across)
+4.5mm hook = a hat for 24 weeks gestation (10.5cm tall x 10cm across)


1: ch3, dc in the 1st chain 9 times, join.
2: ch2, 2dc in each stitch around, join.
3: ch2, *2dc in the first stitch, dc in the next stitch* repeat around, join.
4: ch2, *dc in the first 2 stitches, fpdc in the next stitch* repeat around, join.
Change to contrasting colour
5: ch2, *dc in the first 2 stitches, fpdc around the fpdc from the previous row* repeat around, join.
Change to main colour
6: ch2, *dc in the first 2 stitches, fpdc around the fpdc from the previous row* repeat around, join.
Change to contrasting colour
7: ch2, *dc in the first 2 stitches, fpdc around the fpdc from the previous row* repeat around, join.
Change to main colour
8: ch2, *dc in the first 2 stitches, fpdc around the fpdc from the previous row* repeat around, join.
9: ch2, hdc in each stitch around, back loops only, join.
10: ch1, sc in each stitch around, join.

Making this hat in newborn size.
Worsted Weight Yarn (I used 4 Seasons Marvel 12ply which is very similar in thickness to RHSS)
5.5mm hook
Completed size laid flat 16.5cm tall x 16cm across

1: ch3, dc in the 1st chain 9 times, join.
2: ch2, 2dc in each stitch around, join.
3: ch2, *2dc in the first stitch, dc in the next stitch* repeat around, join.
4: ch2, *2dc in the first stitch, dc in the next 2 stitchs* repeat around, join.
5-6: ch2, *dc in the first 2 stitches, fpdc in the next stitch* repeat around, join.
Change to contrasting colour
7: ch2, *dc in the first 2 stitches, fpdc around the fpdc from the previous row* repeat around, join.
Change to main colour
8: ch2, *dc in the first 2 stitches, fpdc around the fpdc from the previous row* repeat around, join.
Change to contrasting colour
9: ch2, *dc in the first 2 stitches, fpdc around the fpdc from the previous row* repeat around, join.
Change to main colour
10: ch2, *dc in the first 2 stitches, fpdc around the fpdc from the previous row* repeat around, join.
11: ch2, hdc in each stitch around, back loops only, join.
12: ch1, sc in each stitch around, join.

Friday, September 19, 2014

Lemon Tartlet - Playfood


Good morning beautiful people. Hope we are all having a fine one. Today's playfood pattern is for a very cute lemon tartlet, complete with cream and a lemon slice. Of course you could easily change the colours and make an orange or lime tartlet using the exact same pattern. Hope you enjoy this fat free pattern :) YUM! 


You will need

3mm hook
Stitch marker
Small amounts of yellow, brown and cream yarn in your chosen weight.
I use DK/8ply yarn for all my playfood. If you use worsted weight yarn your tartlet will be larger.

With yellow yarn
1: ch2, sc into the 1st chain 6 times, place marker - (6)
2: 2sc in each stitch around - (12)
3: *2sc in the first stitch, sc in the next stitch*, repeat around - (18)
3: *2sc in the first stitch, sc in the next 2 stitches*, repeat around - (24)
4: *2sc in the first stitch, sc in the next 3 stitches*, repeat around - (30)
5: sl st in the next stitch and then end yellow.
Join Brown Yarn
6: *2sc in the first stitch, sc in the next 4 stitches*, repeat around, join - (36)
7: sc in each stitch around, back loops only, place marker - (36)
8: *sc2tg, sc in the next 4 stitches*, repeat around - (30)
9: sc in each stitch around - (30)
10: *sc2tg, sc in the next 3 stitches, back loops only*, repeat around - (24)
11: *sc2tg, sc in the next 2 stitches*, repeat around - (18)
Stuff tart.
12: *sc2tg, sc in the next stitch*, repeat around - (12)
13: sc2tg around - (6)
End off leaving a long tail. Use the tail to weave in and out of remaining stitches of the opening, and pull tight to gather it closed.
With the lemon side facing you, join brown yarn to one of the un-worked loops from round 7.
14: sc in the same stitch you joined in, *skip 1, 5dc in the next stitch, skip 1, sc in the next stitch*, repeat around, join to the first sc. End off and weave in all tails.

Whipped Cream
With white yarn
1: ch10, dc 3 times in the second chain from hook and each chain across. Leave a long tail. Let the cream twist on itself and sew to the top of the tart.

Lemon Slice
With light yellow yarn
1: ch3, dc in the 1st chain 7 times, end light yellow leaving long tail for sewing.
Join dark yellow yarn
2: 2sc in each stitch, end colour.

Attach slice to the tart.      

Saturday, September 13, 2014

Bryli Hat - Free Crochet Pattern


Good morning lovely people. I am so glad to finally be back with some more preemie patterns.

This hat will fit from 22-24 weeks depending on tension and is very fast to whip up. One takes me about 30 minutes from start to finish. It looks great in all colours and would be incredibly easy to upsize. (In fact, Im working on Newborn sized instructions for one right now!) I hope you enjoy this little pattern. I love hearing from you all. Remember, you are more then welcome to share any pics of items made from my patterns on my Facebook Page

EDIT** Newborn instructions below.

Bryli Hat
Prem Size
3.5mm hook
DK/light worsted/8ply yarn yarn in main and contrasting colours.

1: Ch3, dc in the first chain 10 times, join (to the top of the ch3, here and throughout)
2: ch3, 2dc in each stitch around, join.
3: ch3, *2dc in the first stitch, dc in the next stitch*, repeat around, join.
4: ch3 (counts as first dc), dc into the same spot 2 more times, ch1, *skip 2 stitches, dc 3 times into the 3rd stitch, ch1*, repeat around, join.
5: sl st into the middle dc from the previous cluster, ch3 (counts as first dc), dc into the same spot 2 more times, ch1, *skip to the middle stitch in the next cluster and dc 3 times in it, ch1* repeat around, join.
6-8: Repeat round 5
9: Change to contrasting colour, and ch2. hdc in each stitch and ch1 space around, join.


Bryli Hat
Newborn Size
5.5mm hook
Worsted weight yarn in main and contrasting colours. (I used RHSS)

1: Ch3, dc in the first chain 10 times, join (to the top of the ch3, here and throughout)
2: ch3, 2dc in each stitch around, join.
3: ch3, *2dc in the first stitch, dc in the next stitch*, repeat around, join.
4: ch3 (counts as first dc), dc into the same spot 2 more times, ch1, *skip 2 stitches, dc 3 times into the 3rd stitch, ch1*, repeat around, join.
5: sl st into the middle dc from the previous cluster, ch3 (counts as first dc), dc into the same spot 2 more times, ch1, *skip to the middle stitch in the next cluster and dc 3 times in it, ch1* repeat around, join.
6-9: Repeat round 5
10: Change to contrasting colour, and ch2. hdc in each stitch and ch1 space around, join.

Friday, September 5, 2014

Playfood - Picnic Basket


Good morning beautiful peeps!

Today's pattern is for a picnic basket! I figure with all these new foods, we need a way to store them right? And what is cuter then a little child sized picnic basket!

This basket is pretty straight forward to make, and only uses a handful of materials.

You will need:
4mm hook
Yarn in main and contrasting colours (I used tan and brown in DK weight, Worsted will work just fine)
2 matching buttons
Sewing needle
4 pipe cleaners
Piece of stiff board or plastic to line the base (I used the plastic from an icecream container)

With main colour
1: ch30, hdc in the 2nd ch from hook and in each ch across
2: ch2, turn, hdc in each stitch across
3-18: Repeat row 2.

Do not end.
Now we'll make the sides.

19: ch1, sc evenly down the side of the rectangle, 2sc in the corner, sc in each stitch on the next side, 2sc in the corner, sc evenly down the next side, 2sc in the corner, sc in each stitch along the last side, 2sc in corner, join to the ch1.
20-21: ch3, dc in each stitch around, join.
Change to contrasting colour.
22-23: ch3, dc in each stitch around, join.
Change to main colour.
24: ch1, sc in each stitch around, join.
Change to contrasting colour.
25-26: ch3, dc in each stitch around, join.
Change to main colour.
27-28: ch2, hdc in each stitch around, join.
29: slst loosely in each stitch around. End off yarn and weave in all tails.

Shaping the corners.
To give the basket a more defined shape and add some stability, we are going to sew the corners. This is a little bit time consuming, but it makes a huge difference to the basket.
You simply need to pinch the corners as shown below, and using matching yarn and a sewing needle, whipstitch from top to bottom, you want your stitches about a finger width deep. Repeat on all 4 corners.
If you want even more stability, you can pinch a pipe cleaner in there and then stitch, but I chose not to do so. (Lack of pipe cleaners, oops!)


Handles:
With contrasting colour.
1: Ch75, sc in the 2nd ch from hook and each across.
2-4: ch1, turn, sc across.
5: ch1, turn. Fold handle in half width wise and sc the sides together (going through the last and first rows) to create a tube. End off leaving a long tail.
This part can be a little tricky. You want to join 2 pipe cleaners together, and slide them into the tube. It is easier of you bend 1cm of the end of the pipe cleaner over before inserting it. Go slow so you don't poke it out the sides. Join the last 2 pipe cleaners and insert them from the opposite side.


Sew the handle onto the basket (the entire section that is touching the basket, not just at the bottom.)
Attach a large button to each side of the basket, positioning it over the top of the handle, and in between the 2 contrasting stripes on the basket.

Cut a piece of plastic or card to fit in the base of the basket and you are done! Fill full of play food and enjoy your yarn picnic!

Thursday, September 4, 2014

Itty Bitty Giant Hat Drive Info and FAQ

Good morning beautiful people!

Yesterday on my Facebook page I posted about the 2nd annual Itty Bitty Hat Drive. It has since gained a lot of momentum and there have been a lot of shares and questions. I thought it would be a good idea to sit down and write up a post here so people looking can find some solid info and such if they seek it, and to help answer some of the questions that have come in.

The first Itty Bitty Hat Drive started in September of last year. For those who have been following for a while, you will remember my post about the loss of my baby early last September. I wanted to do something meaningful in bubs memory, something that wouldn't be sad, that would be helpful to others feeling like I felt and something to keep me busy. The Itty Bitty Hat Drive was born. I picked Chance's Clothes Project (CCP here on) as the recipient, because I had sent items to them previously, respect the way they run and was blessed to receive my very own pack from them. CCP is run entirely by volunteers who donate their time, their skill, their items and their love. It is run by the most amazing Nikki, who is one of the kindest, down to earth people I have had the privileged of knowing.

The very first hat drive eventually became the CCP crafters group on Facebook, and we still run monthly optional challenges, share patterns and ideas and talk about all things relating to making items for the smallest of the small. (link in the FAQ) This group is run by myself and Lisa from Crochet Quacker

CCP currently provide bereavement packs to 13 hospitals and 1 funeral home across Australia, and that list and the requests for them just keeps growing and growing. With volunteer help the incoming requests can be filled quicker, and people will have access to these very special little packs.

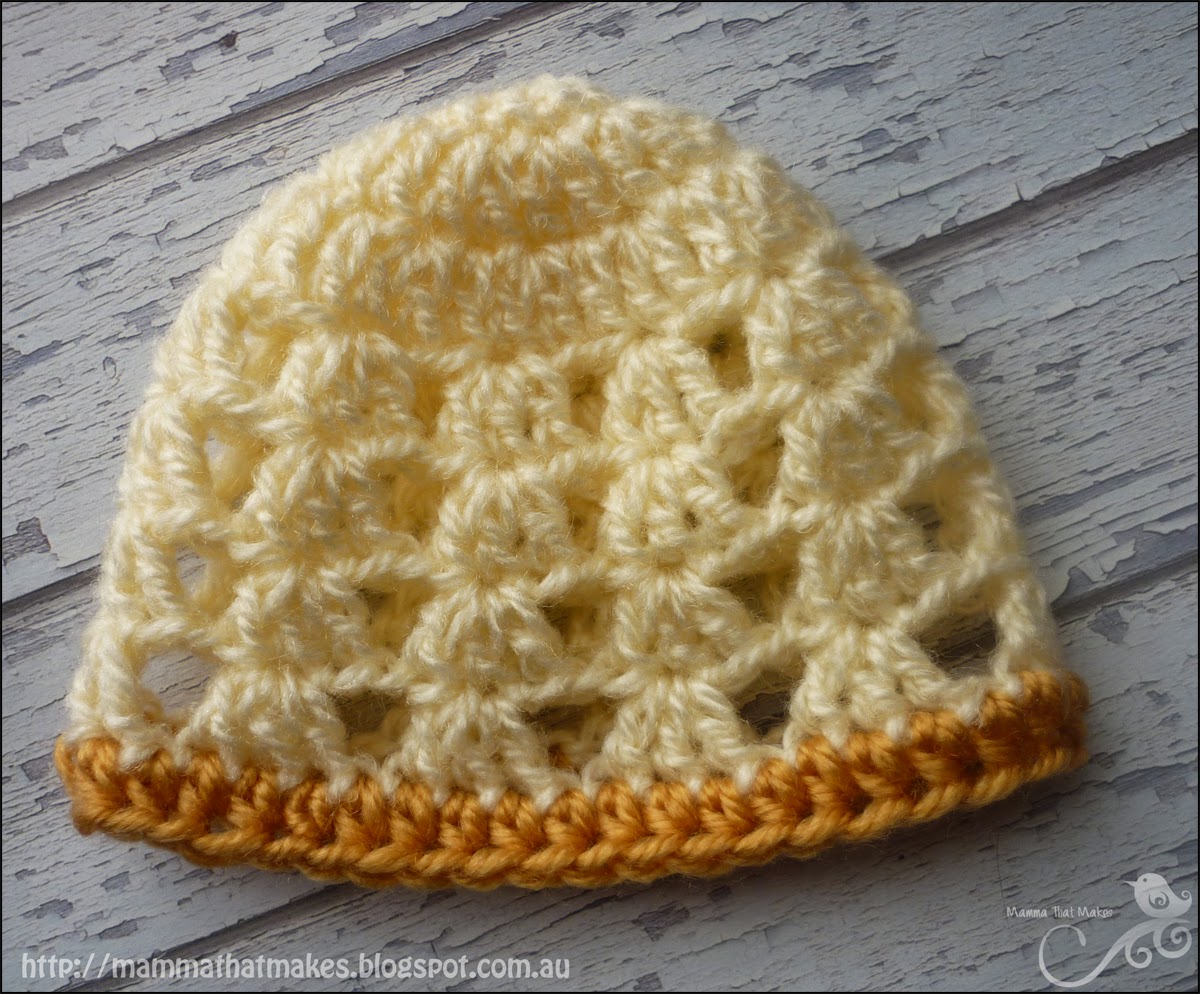
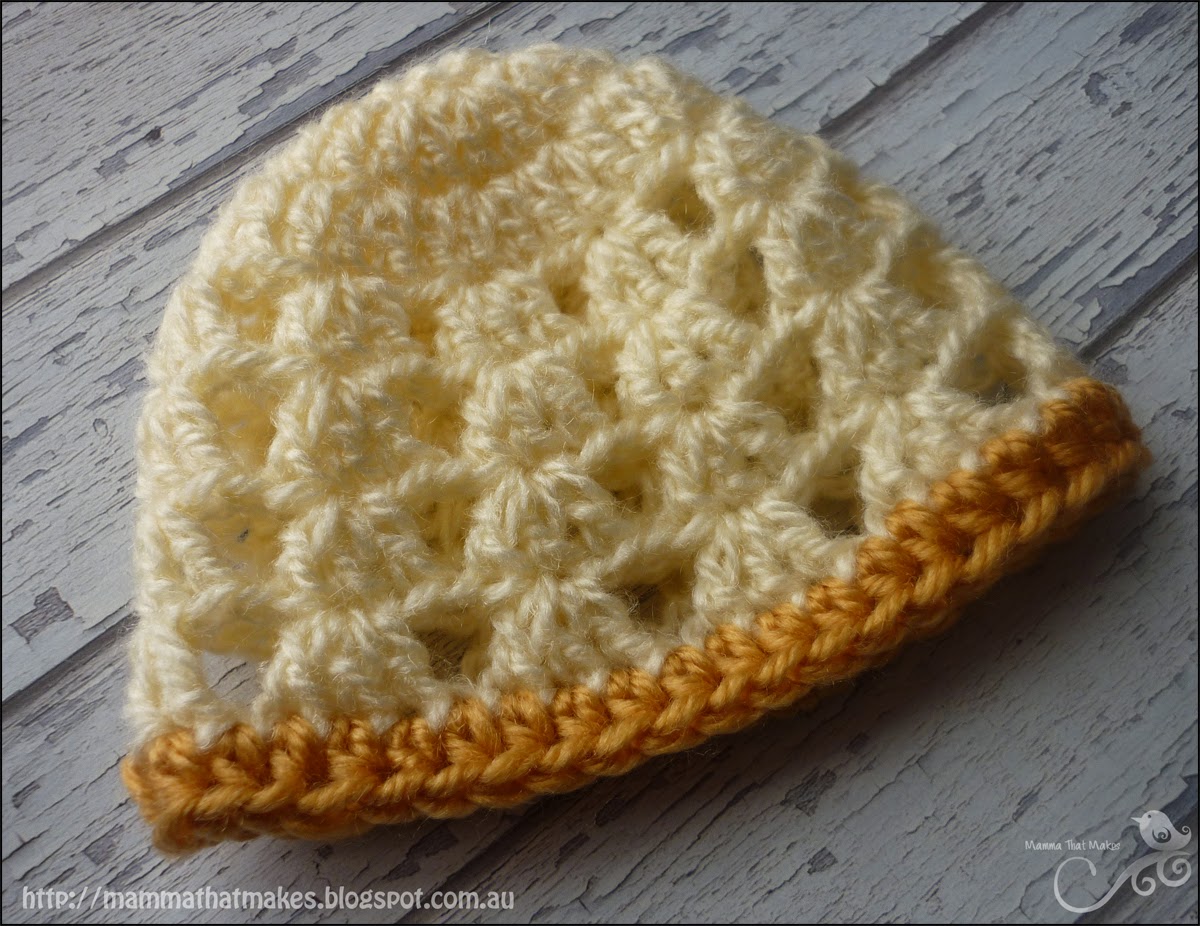
Each pack contains (size appropriate) a blanket, a wrap, clothing (or a bunting/cocoon for the very small), booties, a diaper, a set of matching keepsakes and up to 3 hats/bonnets. Why so many? Babies so small grow rapidly. There is an almost 3cm head circumference difference between 16 and 18 weeks gestation alone. As all babies vary greatly in size, it is most important to have a hat in the pack that will fit. The spares parents get to hold onto and keep close. You can see photos of these packs in their Facebook Photo Albums

As you can imagine, this makes the need for hats of all sizes a large demand. Hats are also one of the easiest things to make, using the least amount of materials and are super customisable. For these reasons, I decided to focus my event around hats and bonnets, in the hopes that CCP would receive a large stockpile to keep them going.

So now you know something about the background and the charity, it's time to share the event and answer some questions.


Truth be told, I was not expecting as many people to jump on board that have so far, and probably should have included more info in the original image above. I guess that happens sometimes, and so I apologise that it wasn't all covered initially and I hope these FAQ's help clear things up for you.

FAQ!


Where can I find out more about Chance's Clothes Project?
You can find their Facebook page HERE and their website HERE
I encourage you to like their Facebook page so you can keep up to date on any events and info, get to see the amazing feedback and view all their great photos. CCP share images of every donation they receive, so you know it made it there and you get to see it put into packs. It also gives you a way to get in contact with someone if you have questions or want updates.

If you would like to become a regular member and donate items you can find our craft group HERE It is a closed group and chatter is about the work we're doing for CCP. We run monthly challenges (optional) to help get the items that are needed to finish off packs done, share photos and ideas and talk patterns. Offer advice, sort out sizing and help each other as best we can.
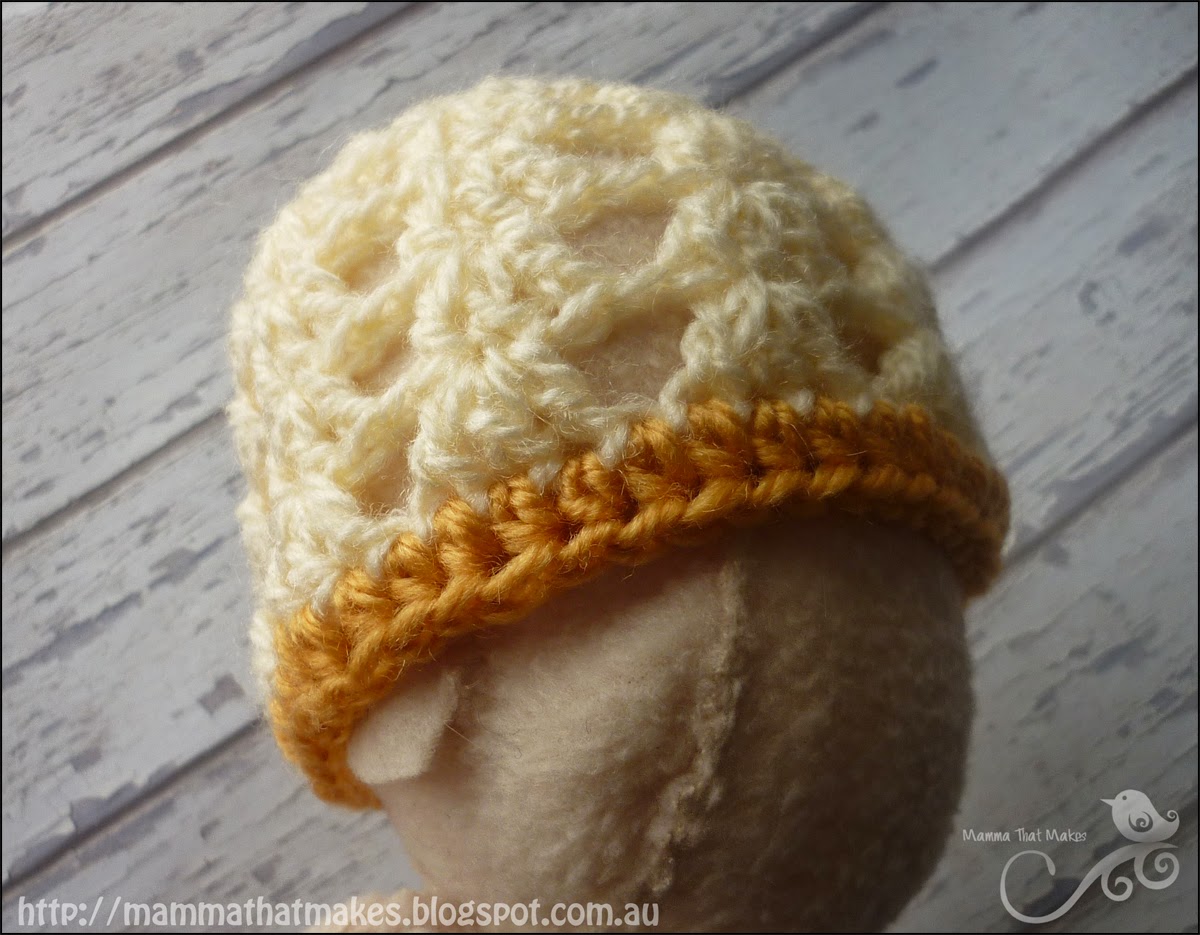

What size hats do they need to be?
Hats can be any size from those for under 8 weeks gestation (these would fit on your fingertip) through to the size for a full term newborn baby. I have a size chart available HERE if you need a hand, but honestly any size is fine, babies come in all shapes and sizes. If you are worried about length, making a hat longer is the best way to go, the edge can always be folded up.

Do I have to crochet the hats?
Not at all! You can choose to crochet, knit or sew your hats. Some people loom them, some people use a knitting machine and others felt. You can use whichever crafting style you are most comfortable with.

Do I have to use your patterns?
Again, not at all! You are free to use whichever pattern you like to create your hats! I have a preemie related pinterest board HERE to get you started with free patterns and ideas. The colours and styles are entirely your choice,

Why do we post on the 15th Oct?
October 15th is Pregnancy and Infant Loss Awareness Day (in most countries, including the US, UK and Aus). What better day to send these precious gifts and honour the memory of beautiful babies gone far too soon.

Can I send my donations to other charities?
The Itty Bitty Hat Drive was created specifically with CCP in mind. I understand there are a lot of other groups about the globe and some people would prefer to support locally. If you would like to organise your own event, I am happy to give you advice on how to do that. I am even happy to assist in creating graphics should you need them (like the image above), but I do appreciate that you don't hijack my event or copy it's name.

Do I have to send a certain number of hats?
Nope! In fact, even just one hat is perfectly fine. One or two hats may even be a cheaper alternative for international crafters as it can be sent flat in a regular envelope with a stamp, instead of a package.

I want to join in but I don't live in Australia, can I?
Absolutely you can. In fact we have some regular international contributors! But having said that I feel it is only fair to warn you that postage to Australia can be expensive. My advice would be to weigh a few hats and decide on how many you would like to make prior to starting, and going to the post office to see how much that weight parcel will cost if sent via sea mail. Sea mail is slower then air mail (sometimes up to 2 weeks slower in fact) but it is considerably cheaper.

Are there any goals?
There are no set goals because we are absolutely thrilled with any number of hats coming in. However, if you wish to make a personal goal, you are more then welcome to do so. If you want to share your goal, or share images of the items you have made to donate you are more then welcome to leave links to the images and state goals below. I am also happy to have you share any images on my Facebook page MammaThatMakes After all, we just love seeing how creative everyone is getting!
Myself personally, I am aiming for 50 hats. I'll be sharing my progress on Facebook as well.

Can I share this with my local craft group?
Yes indeed! If you want to print out the image and address you are more then welcome to share the event with your local crafting groups! The more the merrier.

Where do I post my hats to?
You can post your hats to the below address. If you would like to include a small piece of paper letting us know they are from the hat drive that would be fantastic!
Chance's Clothes Project
c/- Cowra Neighbourhood Centre
15 Vaux St
Cowra NSW 2794

I don't have a crafty bone in my body, but I want to help. Are there other ways?
Of course! First, simple word of mouth about the charity or the event would be amazing. You can share this post on social media networks and with friends and family. Some people choose to purchase preemie sized beanies from stores and post them in. Others send donations of yarn or fabric so CCP can pass it on to local crafters to make items with. The choice is entirely yours.


I think that answers most of the questions we've had so far. If you have any more at all, feel free to drop me a line on here, via email or via Facebook. I'll do my absolute best to help you out wherever possible. Thankyou for taking the time to read this lengthy post, and as always, have a gentle day <3